Designing Eye-Catching Balloon Walls and Baby Shower Boxes
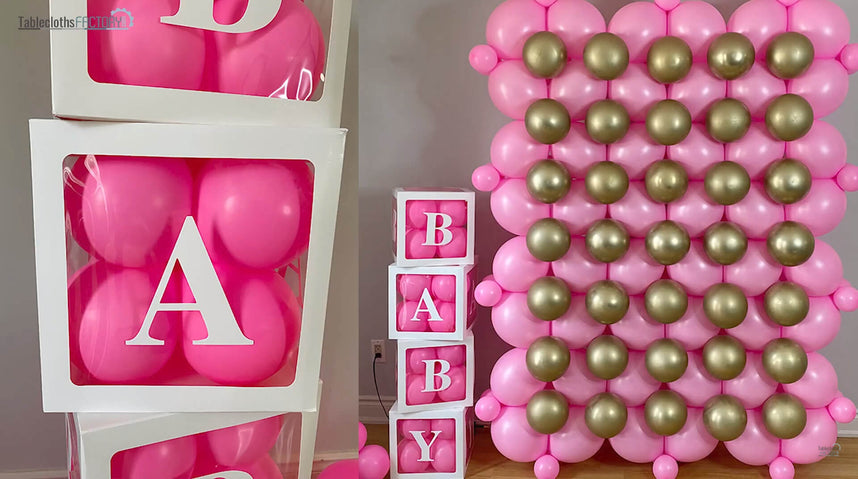
Diving into the adventure of planning a baby shower can be both thrilling and overwhelming, but have no worries! We’re here to simplify it with a touch of DIY charm. Picture yourself assembling personalized baby shower boxes brimming with affection and piecing together balloon walls that weave a narrative. In this guide, we’ll escort you through the process of creating these enchanting adornments effortlessly. From picking out the ideal color scheme to adding the crowning touches of bows and sparkles, we’ll make sure your baby shower becomes a memorable highlight. So, let’s get our hands busy and immerse ourselves in a realm of hues, artistry, and joy!
Materials You Need:
4 Pack Metallic Iridescent Letter StickersWhite Transparent Balloon Boxes
Pink Latex Balloons
Metallic Chrome Gold Balloons
Balloon Air Inflator
Balloon Column Stand
What You Need to Do:
Step 1: Set Up the Balloon Display Boxes
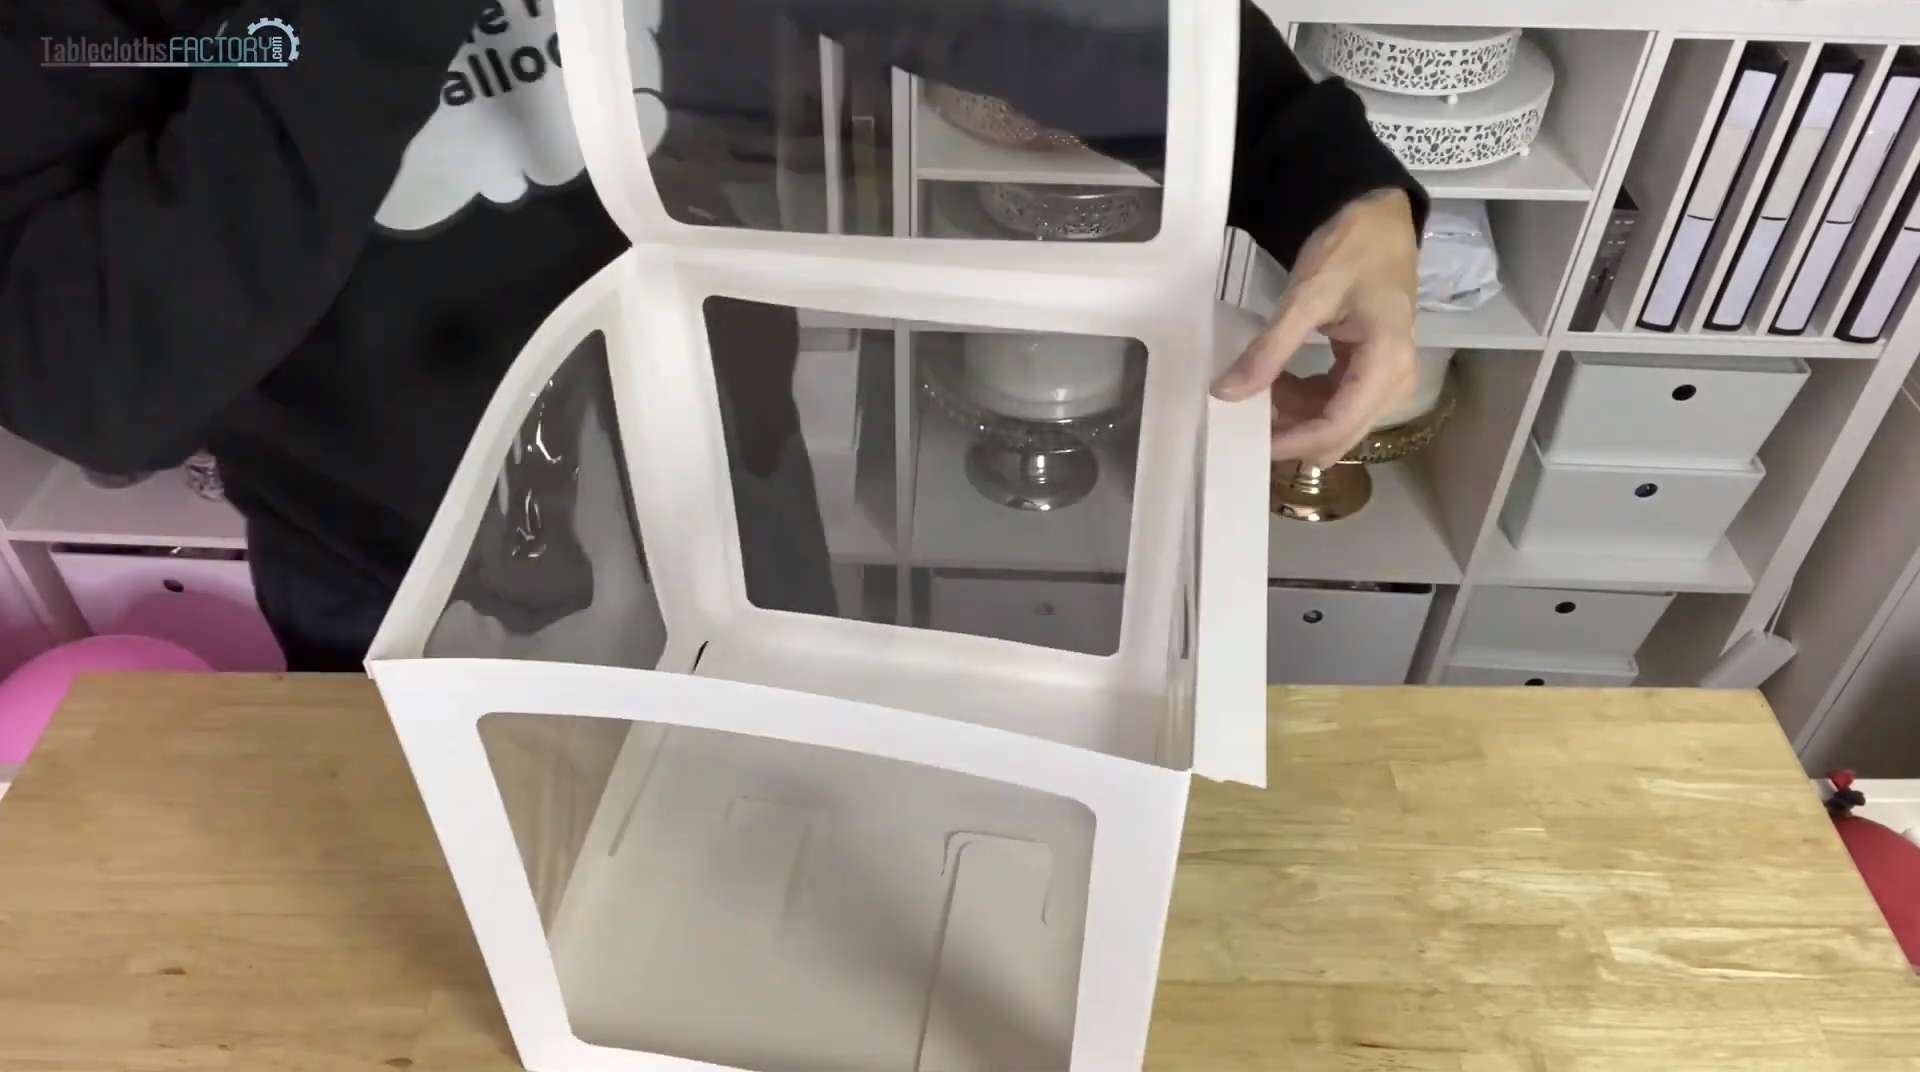
Begin by constructing your clear white balloon display boxes, following the guidelines provided by the manufacturer. Ensure each box is firmly assembled and stable, as these will serve as the base of your decoration.
Step 2: Inflate the Balloons
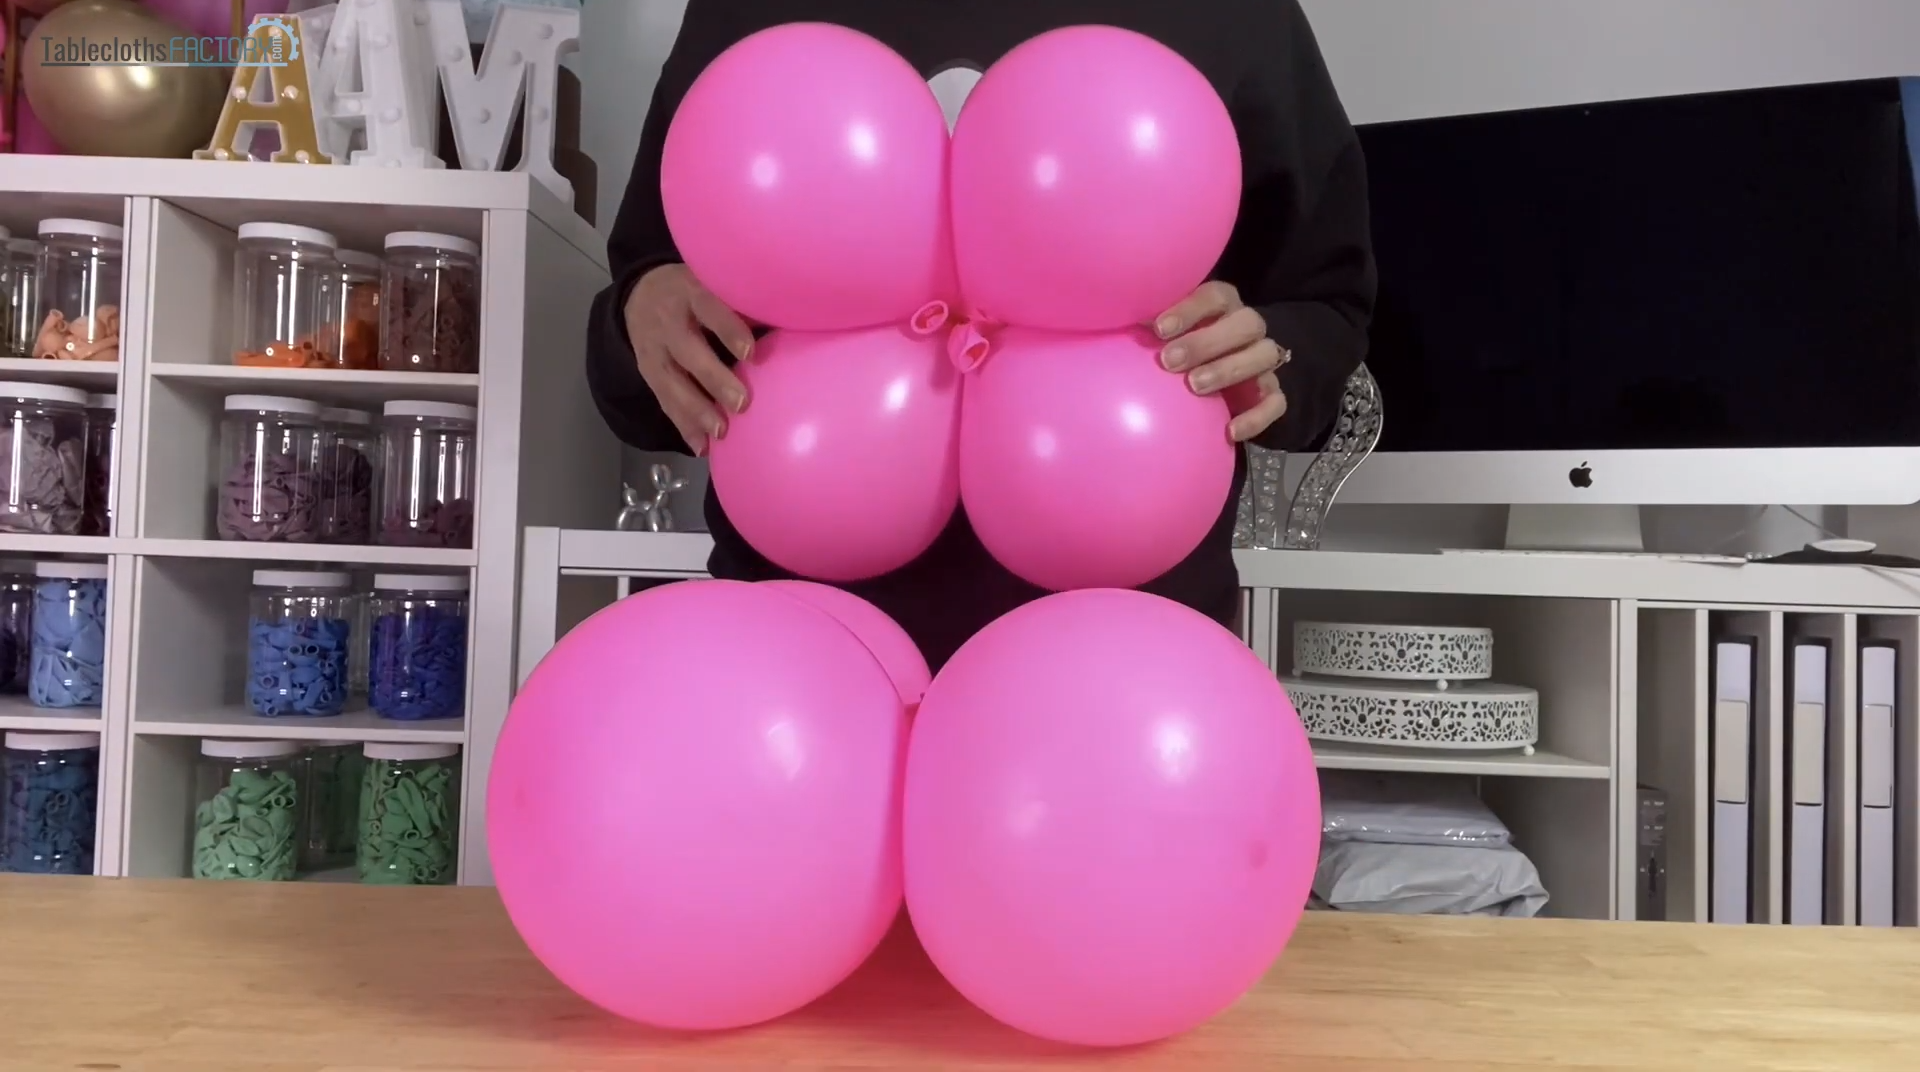
Next, use a balloon pump to inflate the pink balloons that will fill your display boxes. Strive for balloons of equal size to achieve a consistent and harmonious look. Securely knot each balloon to retain the air inside.
Step 3: Arrange the Balloons in the Boxes

Carefully insert the inflated pink balloons into the boxes, sticking to a pink-only palette for a gentle and even aesthetic. Position them strategically within each box to enhance visibility and create a sophisticated single-color effect, adding to the allure of your baby shower setup.
Step 4: Personalize with Letter Decals
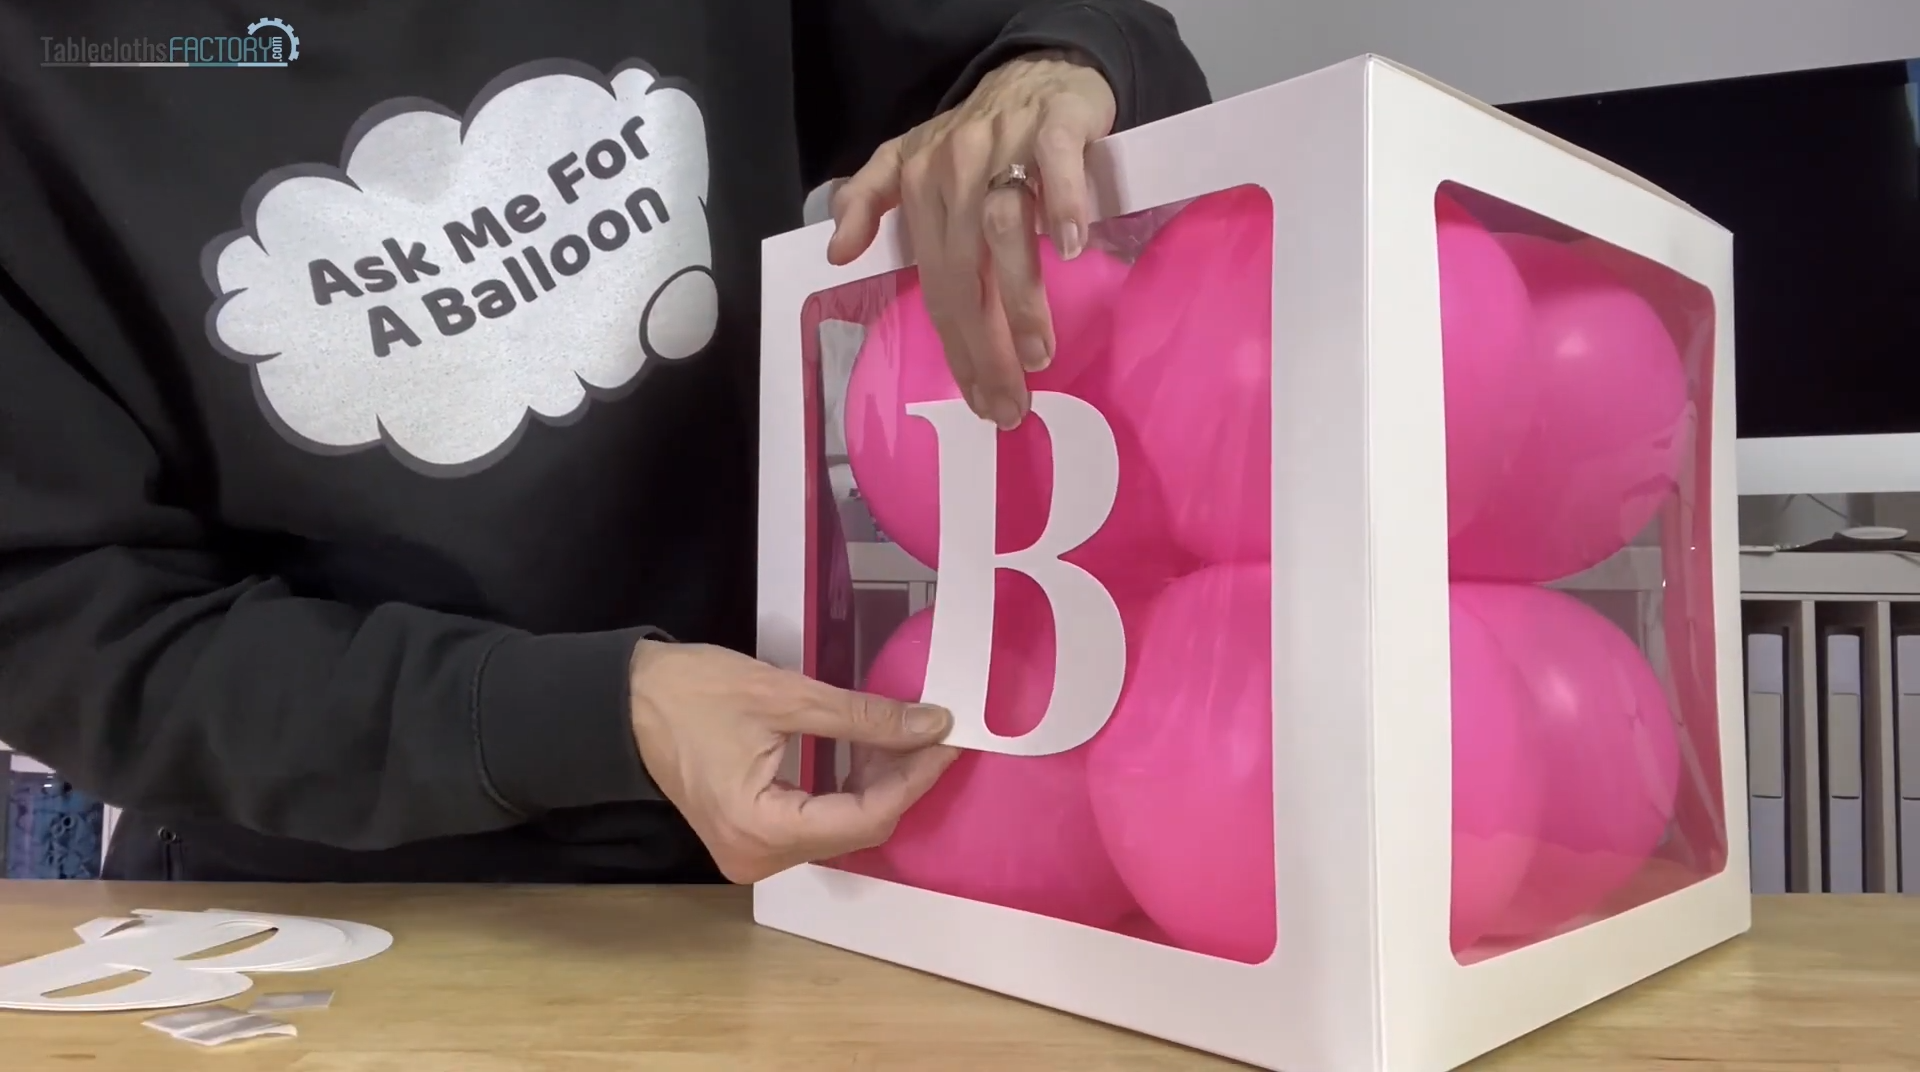
Select shiny metallic letter decals to spell out a heartfelt message or the baby’s name on the boxes. Affix these decals to the outside of the boxes, ensuring each character is aligned and centered for a polished appearance.
Step 5: Construct the Balloon Backdrop
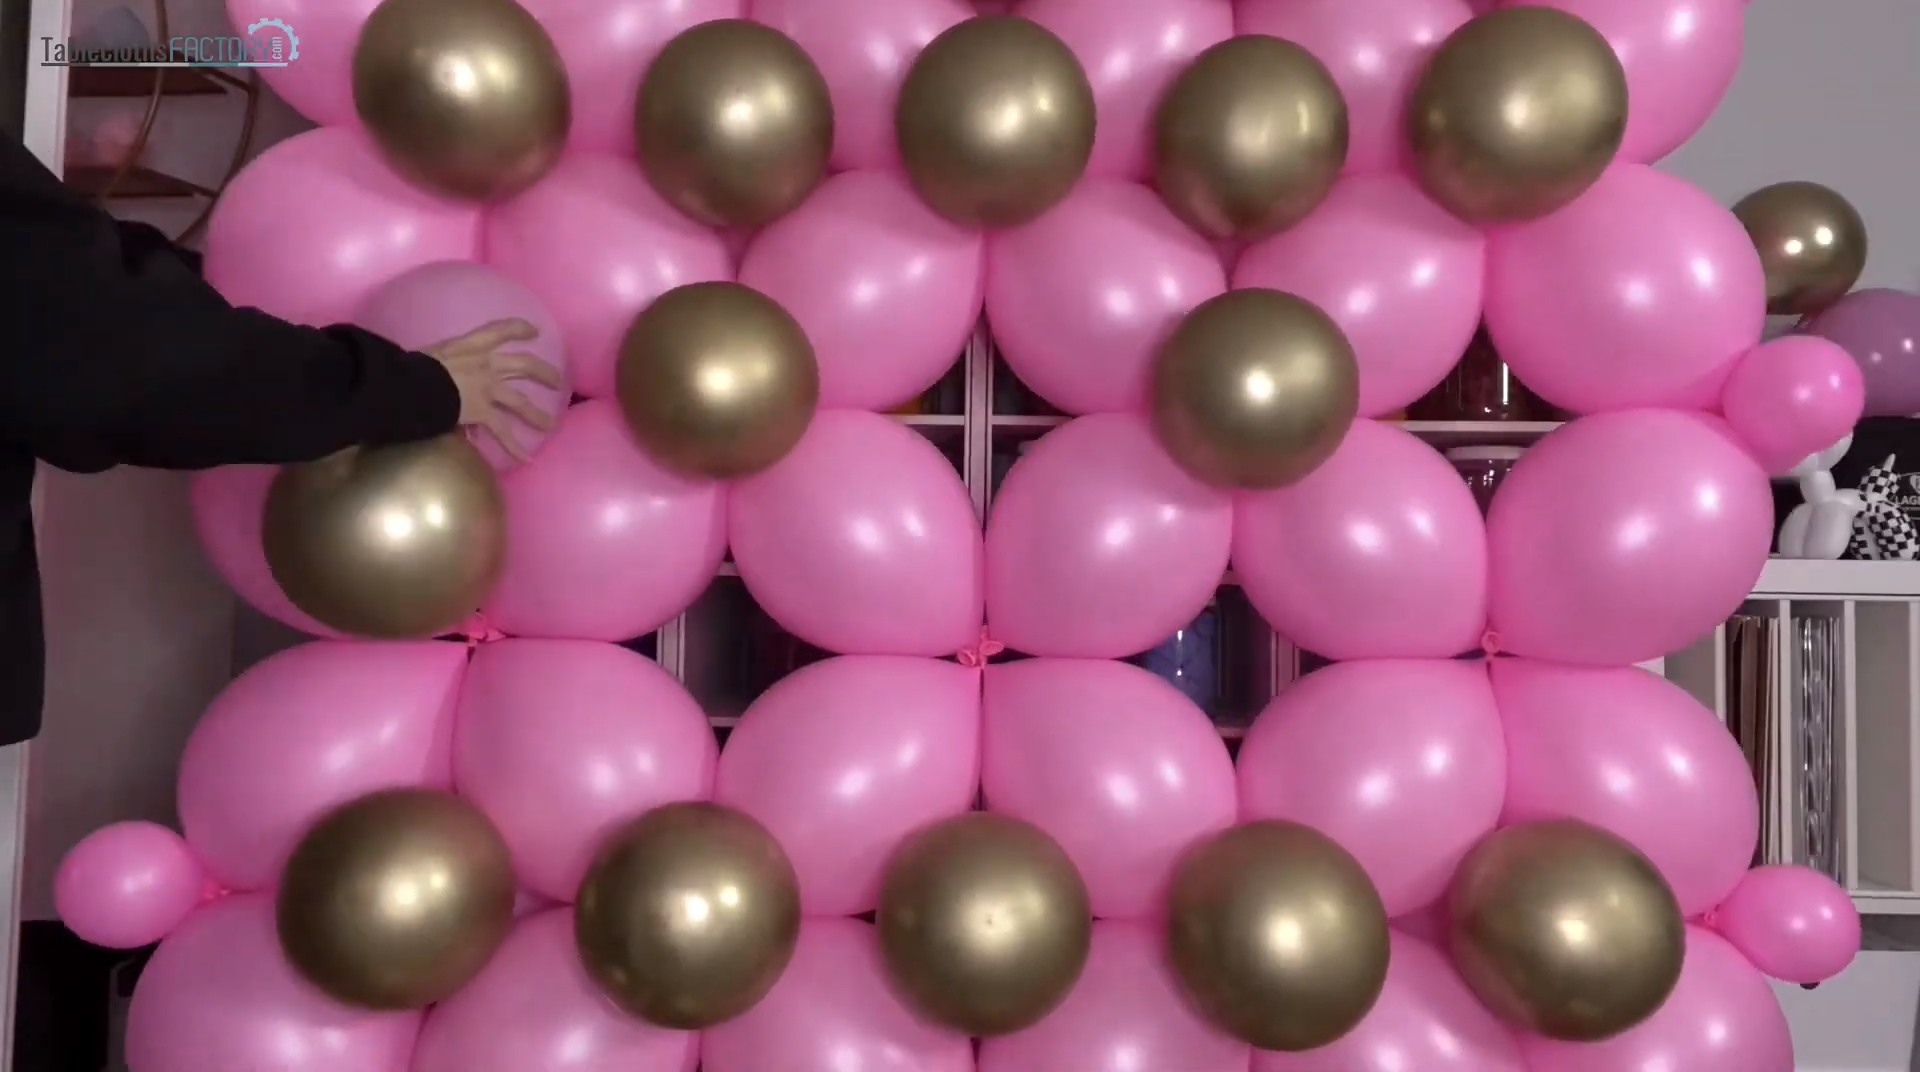
Move on to crafting an eye-catching balloon backdrop. Inflate more pink balloons and connect them to form chains. These will construct the framework of your balloon backdrop. After establishing the pink foundation, sprinkle in some metallic gold balloons for contrast, arranging them sporadically to create a tasteful motif.
Step 6: Final Touches and Adjustments
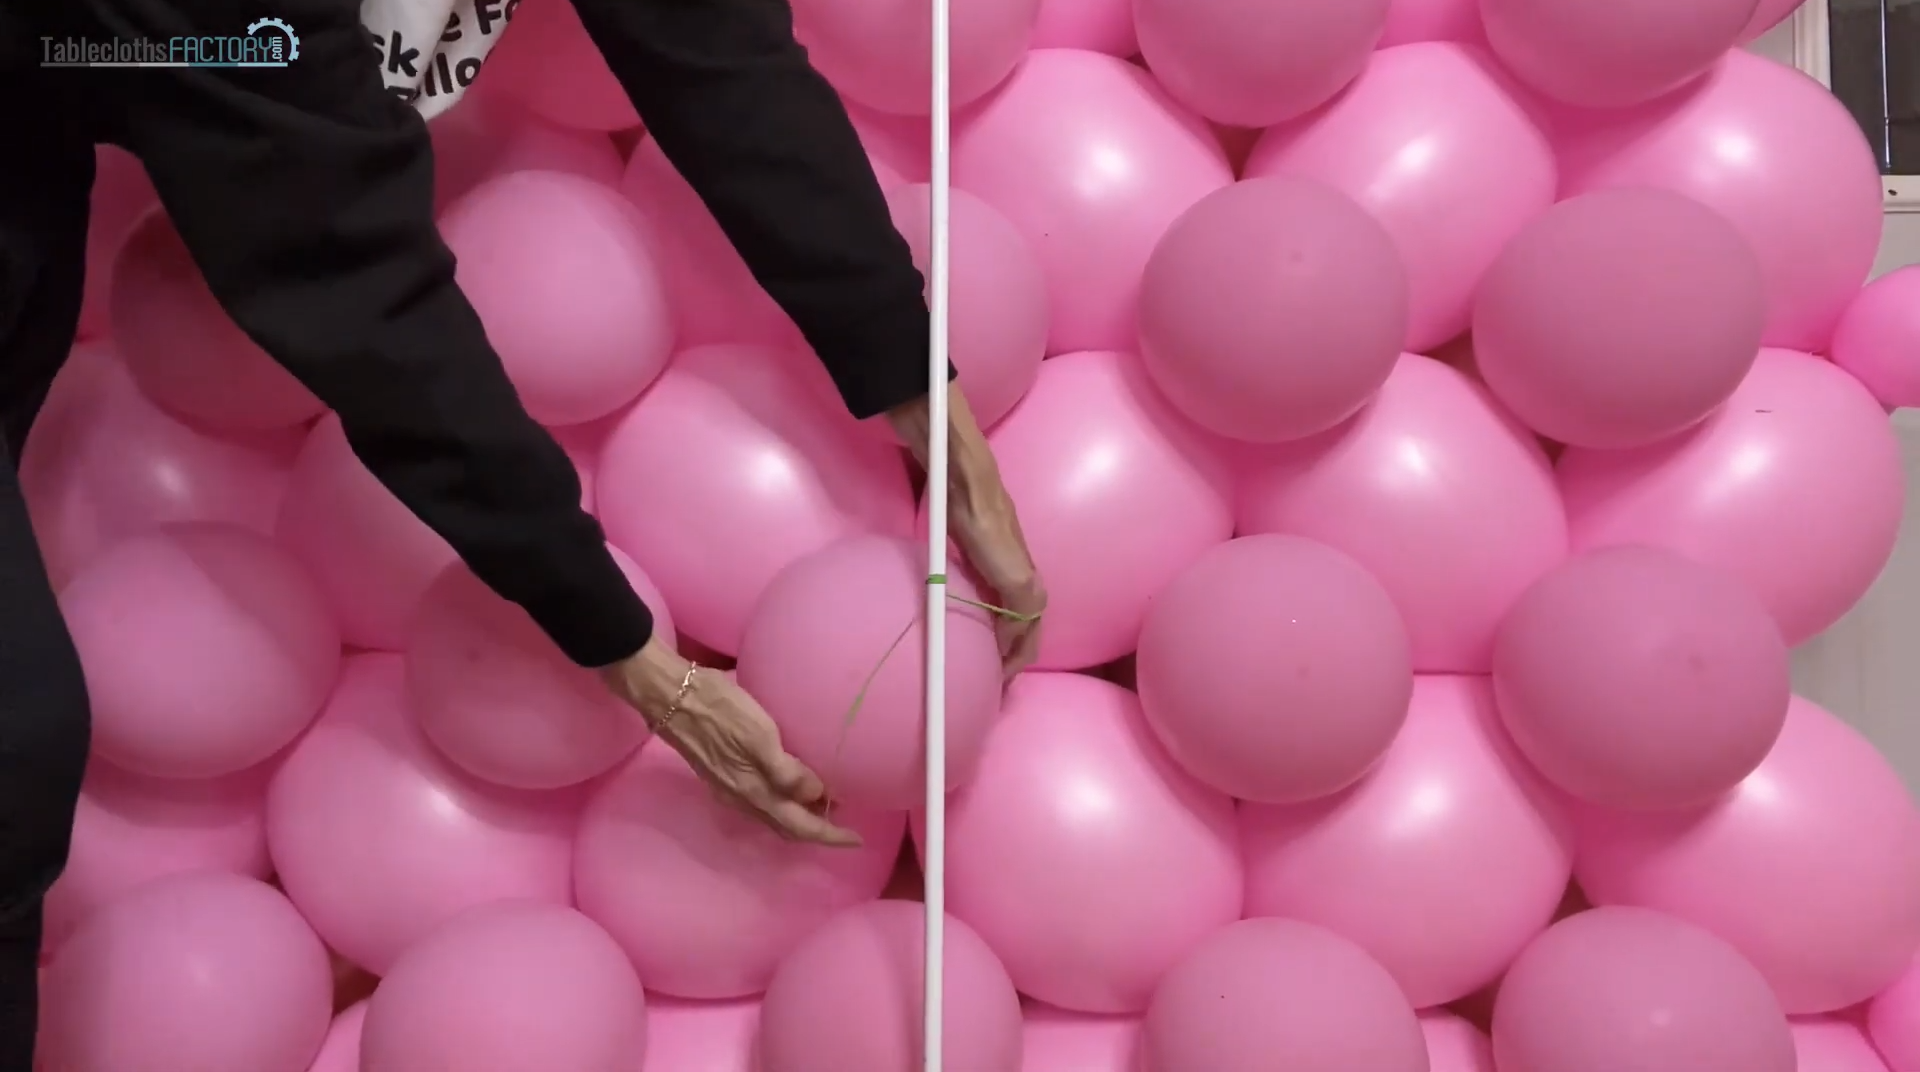
Once all balloons are in place, take a step back to review and adjust the overall setup. Secure the balloon wall to a column stand. Rearrange any balloons as needed to maintain an aesthetically pleasing composition. Fasten any loose balloons and apply extra adhesive where necessary to ensure everything stays put.
Voilà—a comprehensive walkthrough for crafting a baby shower that’s as unique as the moment it celebrates. Keep in mind, this is just your starting point. For a treasure trove of inventive concepts and in-depth guidance, delve into our additional blogs. They’re overflowing with innovative sparks and practical suggestions to enhance any festivity. Whether it’s a baby shower, a milestone birthday, or any jubilant gathering, we’re here to support you. So unleash your creativity, and orchestrate an affair that’s distinctly extraordinary!
